CopyTrans Studio automatically checks and downloads updates on your PC.
Why update CopyTrans Studio?
Updating programs is important for several reasons:
- Bug Fixes: Updates often contain bug and error fixes. Installing these updates can improve the stability and performance of the program, resulting in a more user-friendly experience.
- Compatibility: New updates ensure the program is compatible with the latest hardware and software environments. This is especially important as technology evolves and new devices and systems become available.
- New Features: Software updates may include new features or improvements that provide users with additional functionality and improve overall performance.
In general, program updates are essential to maintain the security, stability, compatibility, and performance of your system, as well as to provide access to the latest features and enhancements.
How does automatic update work in CopyTrans Studio?
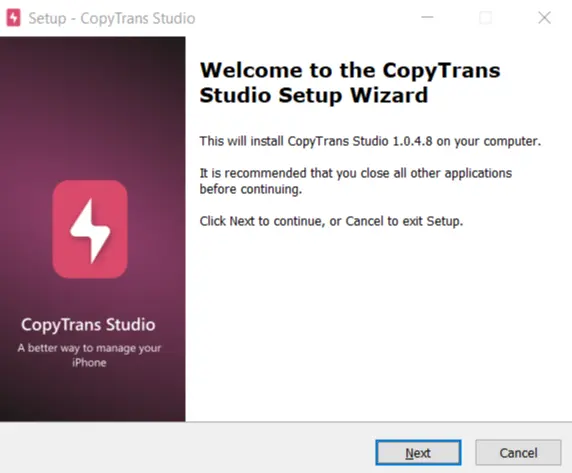
When a new version is out, this window will appear:
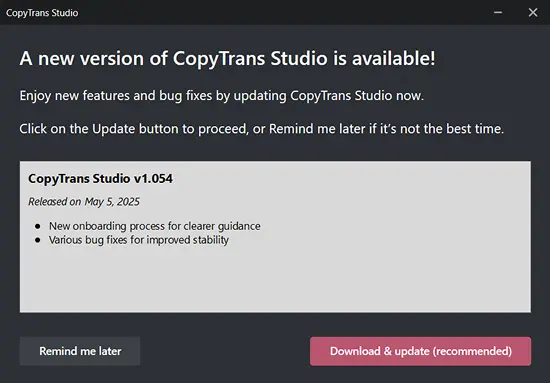
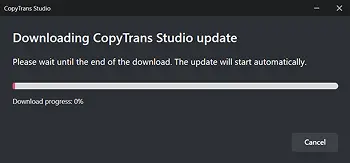
CopyTrans Studio will reinstall the latest version of the program on your PC:
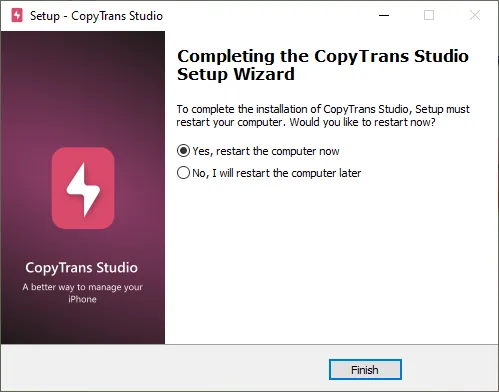
Follow the steps, restart you PC and enjoy the latest CopyTrans Studio!
How to manually update CopyTrans Studio
If the automatic update is not set, you can always install the latest version of CopyTrans Studio manually:
- Download the latest version of CopyTrans Studio from the website. Download CopyTrans Studio
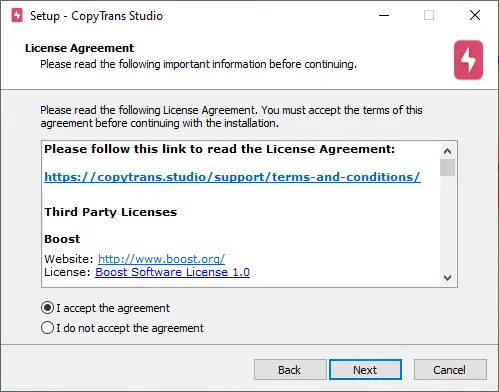
- Start .exe with a double click, and then follow the installation guide. Click on “Install.”
- When installation is finished, you will need to restart your PC. Click on “Finish” and the latest version will be installed on your PC.