In today’s world, where convenience and affordability are key, using an iPhone to take high-quality passport photos is a game-changer. You no longer need to visit professional photographers or photo booths—modern smartphone cameras, like those on the iPhone, let you take official passport photos right at home.
This guide will show you how to take passport photos with your iPhone, step by step. It includes helpful tips and important details to ensure your photos meet the strict requirements of passport and visa services. From understanding size and composition rules to making the most of your iPhone’s camera and improving lighting and backgrounds, this guide gives you everything you need to create passport photos that meet international standards.
How to take a passport photo with iPhone
To get started, you’ll need:
- Your iPhone (preferably a model with a good camera, like iPhone 11 or newer).
- A plain background, such as a white or light-gray wall.
- Proper lighting, either natural or soft artificial light.
Now, let’s look at each item in detail:
Step 1. Understand Passport Photo Requirements
Before you start, familiarize yourself with the rules for passport photos in your country. Common requirements include:
- Dimensions: In the U.S., the photo should be 2×2 inches.
- Expression: Maintain a neutral expression with both eyes open.
- Lighting: Avoid shadows, overexposure, or harsh lighting.
- Appearance: Wear normal clothing (no uniforms) and avoid headwear unless it’s for religious purposes.
Step 2. Prepare Your Setup
The right setup is key to a good passport photo. Follow these tips:
- Background: Choose a plain, light-colored background without any texture or patterns.
- Lighting: Use natural light near a window or a soft artificial light source. Position the light to eliminate shadows on your face and background.
- iPhone Placement: Use a tripod or stack books to position your iPhone at eye level. This ensures a steady shot and proper alignment.
Step 3. Take the Photo
Now it’s time to snap your picture:
- Use the Rear Camera: The rear camera typically offers better quality than the front-facing one.
- Positioning: Stand about 4 feet away from the camera. Zoom in slightly to reduce lens distortion.
- Framing: Make sure your face is centered in the frame, with shoulders visible. Keep your head straight and your eyes level with the camera.
- Lighting Check: Ensure there are no shadows on your face or background.
Step 4. Edit Your Photo
After capturing the photo, use your iPhone’s built-in editing tools or a photo editing app to make necessary adjustments:
- Cropping: Crop the photo to the required size (e.g., 2×2 inches for U.S. passports).
- Brightness and Contrast: Adjust the brightness and contrast to ensure your face is clear and well-lit.
- Background Cleanup: If needed, use apps like Adobe Express or Canva to enhance the background or remove imperfections.
More information about how to edit photos can be found in our guide.
Step 5. Print Your Photo
Once your photo is ready, you’ll need a high-quality print:
- Photo Printing Services: Use services like CVS, Walgreens, or online options to print your photo on proper photo paper.
- Home Printing: If you have a photo printer, ensure it’s set to the highest quality and uses glossy or matte photo paper.
If you don’t know how to save photos on a PC to print them, then we have a solution for you! Use CopyTrans Studio and transfer the latest photos from iPhone to PC.
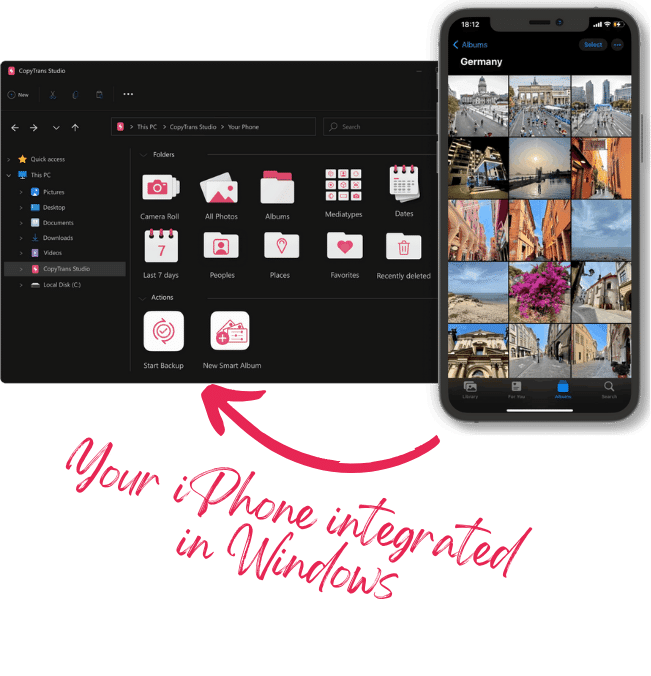
With CopyTrans Studio, you can:
- Transfer photos and videos in one click
- Access your iPhone and iPad Photos as if they were stored on a flash drive
- View photos and videos directly from your iPhone with CopyTrans Viewer
- Say goodbye to HEIC photos and convert them to JPEG
- Connect iPhone to PC via Wi-Fi
Tips for a Successful Passport Photo
To ensure your passport photo meets all requirements, keep these tips in mind:
- Clothing: Wear solid, dark-colored clothing to create contrast against the background.
- Accessories: Remove glasses, hats, or anything that might cause reflections or shadows.
- Help: If possible, ask someone to assist with alignment and framing.
Common Mistakes to Avoid:
- Background Issues: Avoid using backgrounds that are textured or too dark.
- Poor Lighting: Shadows or uneven lighting can lead to rejection.
- Incorrect Proportions: Ensure your photo is cropped and sized correctly.
Conclusion
In summary, smartphone technology, especially devices like the iPhone, has made it easier to handle everyday tasks, including taking passport photos. With modern smartphone cameras, you can take passport photos yourself without needing special equipment or professional help.
By following the steps in this guide, you can confidently take passport photos that meet the strict rules set by passport and visa services worldwide. From understanding size and composition requirements to using your iPhone’s camera features, you have everything you need to create high-quality, official passport photos.
Whether you’re a frequent traveler, live abroad, or just need passport photos, using your iPhone makes the process much easier and more efficient. With your smartphone’s camera and the tips in this guide, you can confidently create official photos. Say goodbye to the hassle of traditional passport photography and enjoy the convenience and control your iPhone offers.