Why do we love Live Photos? Because these photos are our vivid memories that you can play if you want to enjoy not only the frozen shot but also the atmosphere of that photo! Unlike a regular picture, a Live Photo combines a still image with a short video and sound, capturing the moments just before and after the shot.
But Live Photos are one of those iPhone features that seem simple until you try to work with them outside of the Photos app. Each Live Photo captures about three seconds of video—before and after you press the shutter. When you transfer photos to your computer, and suddenly it’s just a still photo. Or worse, it shows up as two separate files – .HEIC and .MOV – and you’re left to figure out how to view Live Photos on PC. (Note: The .MOV file is a short movie containing the motion and sound of your Live Photo.)
This article will clear up that confusion. I’ll show you what to do when the photos lose the live effect. CopyTrans Team has developed a special program that will help you to view Live Photos. Whether you’re checking backups, organizing memories, or just want to share a moment the way it was captured, CopyTrans Viewer is here to make sure these special photos are working the way they should.
Note: Mac and iPad users can also view and edit Live Photos using native apps like Photos, iMovie, or QuickTime. On iPhone, simply press and hold the Live Photo to play it.
The easiest way to view Live Photos on PC using the Photos app
Photos have always had the power to evoke emotions, but Live Photos take it to another level. Live photography doesn’t just show the moment – it reproduces the sounds, movements and feelings behind it, as if you were briefly transported back in time. So these images become a time capsule, encapsulating not only the visual memory but also the atmosphere and ambiance of the moment.
On iPhone, to view a Live Photo, simply press and hold the photo to play it and experience the motion and sound.
It is a very interesting innovation from Apple, but how to watch such photos on a computer? Just use CopyTrans Viewer and follow the steps below!
- CopyTrans Viewer is a part of CopyTrans Studio. Click on the button below to start downloading: Download CopyTrans Studio
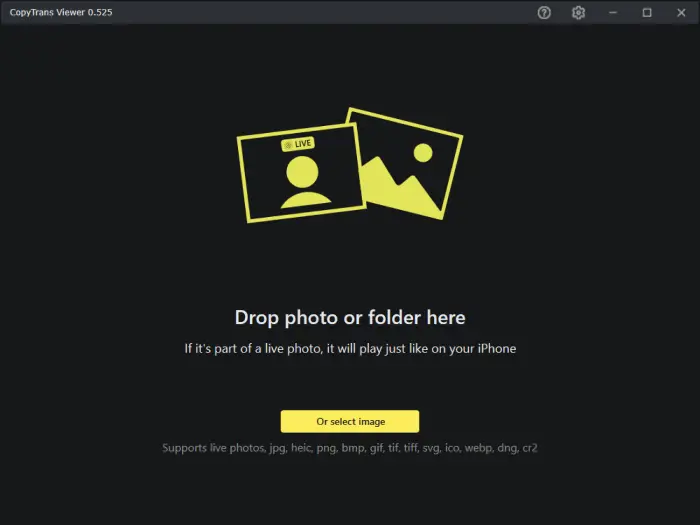
- After CopyTrans Studio is installed, CopyTrans Viewer will automatically appear on your PC. Now click on the CopyTrans Viewer icon on your desktop to start it.
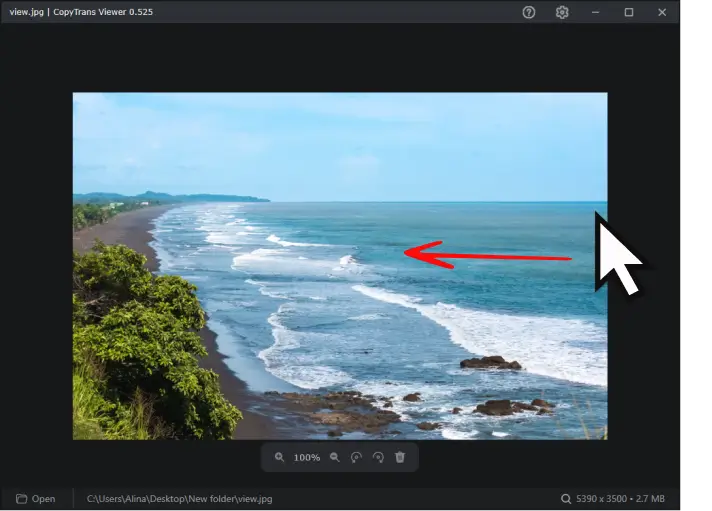
- There are two options to open your media files:
– Drag and drop the file to the black zone
– Click on the yellow button to select a file. - Now, when the Live Photos are selected, you can scroll through your photo library to find them. Once selected, you will be able to view it as you can do it on your iPhone. Just hover your mouse over the photo. This will make it live.
- To stop the mode, move the mouse away from the photo. And that’s it! You can also use CopyTrans Viewer as your standard image viewer. You will find detailed information in our CopyTrans Viewer User Guide.
Check this page to find out how to setup CopyTrans Studio
Editing Live Photos
Editing Live Photos on your iPhone is a fantastic way to enhance both the still image and the motion that brings your memories to life. To get started, open the Photos app and find the Live Photo you want to refine. Tap the image to open it, then tap the “Edit” button in the upper right corner of the screen. Here, you’ll see a range of editing tools similar to those available for regular photos, allowing you to adjust exposure, brightness, contrast, and apply filters to the still image.
But Live Photos offer even more creative control. At the bottom of the screen, you’ll notice a filmstrip representing the video portion of your Live Photo. You can drag the ends of this strip to trim the video, keeping only the best part of the moment. Want to change the frame that appears as the main photo? Simply tap the “Live Photo” icon in the upper left corner, then drag the white box along the filmstrip to select a new key photo. This lets you choose the perfect shot to represent your Live Photo in your library.
For added flair, swipe up on the Live Photo to reveal special effects like Loop, Bounce, and Long Exposure. Loop creates a continuous video, Bounce plays the action forward and backward, and Long Exposure blends the frames for a dreamy, motion-blur effect. These options make your Live Photos even more dynamic and fun to share. When you’re happy with your edits, tap “Done” to save your changes. With just a few taps, you can transform your Live Photos into truly memorable images that capture the full spirit of the moment.
Sharing Live Photos
Sharing Live Photos is a wonderful way to let friends and family experience your favorite moments just as you did. In the Photos app, select the Live Photo you want to share and tap the share button at the bottom of the screen. For iPhone users, sharing via AirDrop, iMessage, or iCloud Shared Albums preserves the full Live Photo, including both the still image and the motion with audio. This means your recipient can tap and hold the photo to watch the short animation, just like you can.
If you want to share your Live Photo with someone who doesn’t use an iPhone, or if you’re posting to social media platforms like Instagram, you’ll need to convert the Live Photo to a video file or an animated GIF. In the Photos app, tap the share button and choose “Save as Video” to create a video version of your Live Photo. You can then upload this video directly to Instagram, Facebook, or other platforms, ensuring everyone can enjoy the motion and sound.
For even more creative sharing, swipe up on your Live Photo and choose Loop or Bounce to turn it into a fun, repeating animation. Exporting as a video or GIF makes it easy to post your Live Photos anywhere and collect comments and reactions from your audience. Whether you’re sharing a quick laugh, a beautiful scene, or a special memory, Live Photos help you tell the whole story with just a tap.
Troubleshooting
If your Live Photos aren’t working as expected, a few quick troubleshooting steps can help you get back to capturing and enjoying your favorite moments. First, open the Camera app and check the top of the screen for the Live Photo icon—three concentric circles. If the icon is grayed out or has a line through it, tap it to turn Live Photos back on. This ensures every shot you take includes both the still image and the motion.
Next, make sure your iPhone is running the latest version of iOS. Updates often include important fixes and improvements for the Photos app and Live Photos feature. If you’re having trouble viewing Live Photos, try restarting your iPhone or checking the Photos app settings to confirm that Live Photos are enabled. Sometimes, simply closing and reopening the app can resolve minor glitches.
If Live Photos still won’t play, you can reset the Photos app by force-quitting it and reopening, or check your device’s storage to ensure there’s enough space for new photos and videos. For persistent issues, visit the Apple support website or contact Apple directly for personalized assistance. By following these steps, you’ll be able to troubleshoot most Live Photo problems and keep your photo library full of lively, animated memories.
View Live Photos
FAQ
1. Why does a Live Photo turn into a still image on my computer?
Live Photos are made of a still image (.HEIC/.JPG) and a short video (.MOV). If you transfer them without Apple Photos or compatible software, only the still may be visible. Use CopyTrans Viewer to view the full Live Photo. iPad users can also view and create Live Photos, and the same transfer limitations apply.
2. How can I convert a Live Photo to a video or GIF?
On iPhone, tap Share > Save as Video. For a looping effect, swipe up on the photo and choose Loop or Bounce effect. This makes sharing easier on platforms that don’t support Live Photos, and the resulting GIFs are stored separately.
3. Can I recover the “live” part if I turned it off?
Yes, if the original is still in your library. Open the photo > Edit > tap the Live icon to re-enable it. If you deleted the .MOV file, it can’t be restored.
4. Are Live Photos included in iPhone backups?
Yes, if you use iCloud Backup or iTunes/Finder. Manual transfers may miss the video part unless you select both files. Tools like CopyTrans Photo preserve them in full.
5. Can I send a Live Photo without losing the motion?
Yes — use AirDrop, iMessage, or iCloud Shared Albums. If you send via email or most messengers, it usually becomes a still image unless you first convert it to a video or GIF.
6. Why won’t my Live Photo play on my iPhone?
You may have disabled the Live effect. On the camera screen, tap the Live Photo icon to toggle the feature on or off. When viewing a photo, tap the photo > Edit > check the Live Photo icon. If it’s off or grayed out, tap it to reactivate the motion.
7. Can Android users view Live Photos?
Not directly. Live Photos must be converted to video or GIF first. Once shared in that format, Android users can view the motion without issues.
8. How do I take a Live Photo?
Open the Camera app on your iPhone or iPad. On the camera screen, make sure the Live Photo icon is enabled, then press the shutter button to capture a Live Photo.
9. How do I keep my Live Photo preference for future photos?
Go to Settings > Camera > Preserve Settings. Enable the Live Photo option to ensure your camera remembers whether Live Photos was enabled or disabled the last time you used it.
Live Photos
Final Thoughts
Why do we enjoy Live Photos so much? Live Photos unlock the potential to tell stories that would otherwise be limited to a single photograph. With Live Photos, we can capture the progression and dynamics of an event, the laughter and joy that unfolds, and the subtle expressions that may go unnoticed in a still image. This feature is particularly valuable for documenting milestones, trips, and experiences where the story is just as important as the image itself.
Live Photos have changed the way memories are captured and preserved. And CopyTrans Viewer changed the way you watch your photos on your PC! With CopyTrans Viewer everything is possible: almost every image and video format is compatible! Download it and make your default viewer and unlock the next level of managing your memories!